Hi all. I hope all is well and wanted to let you know that while I may not have been posting I have been lurking like a creep. Kevin, your blog, and work, is looking sick. Really getting inspired by your stuff. Thanks for the FZD links. They have been a great help and if you find anything else you feel could be helpful, let me know.
As for me, I have been trying to tack down a digital work method that allows for constructive growth with the minimum of menu frustrations and surprises. Bear with me as I would like to share my current process.
A while back Sam mentioned something about mercenaries in space and that got me thinking. I imagined that with the tech involved in space travel, as well as the lawlessness created by vast distance, that a biker motif would be both esthetically pleasing and logical. Looking to Sons of Anarchy and such I did a quick sketch that featured some points: sleeveless vest over hoodie, chaps, boots, etc. I worked on gray using black with white highlights.
Once I had the look I was thinking of, I went into greater detail. Cleaning things up, deciding on a face, using more tones.
All the while the transform tool became important to exaggerate proportions. I then used a multiply layer to apply localized color.
I then created a topmost layer and using high opacity, painted details, highlights, shadows and details.
Using that lasso tool, I created a mask selection around the dude so I could paint a simple everyday space-biker environment. I tried to keep the background simple and colorless so not to distract from the figure.
Lastly, I used the Gaussian blur filter to push the background back further and the transform tool to tweek things. And this was the final for Space Biker.
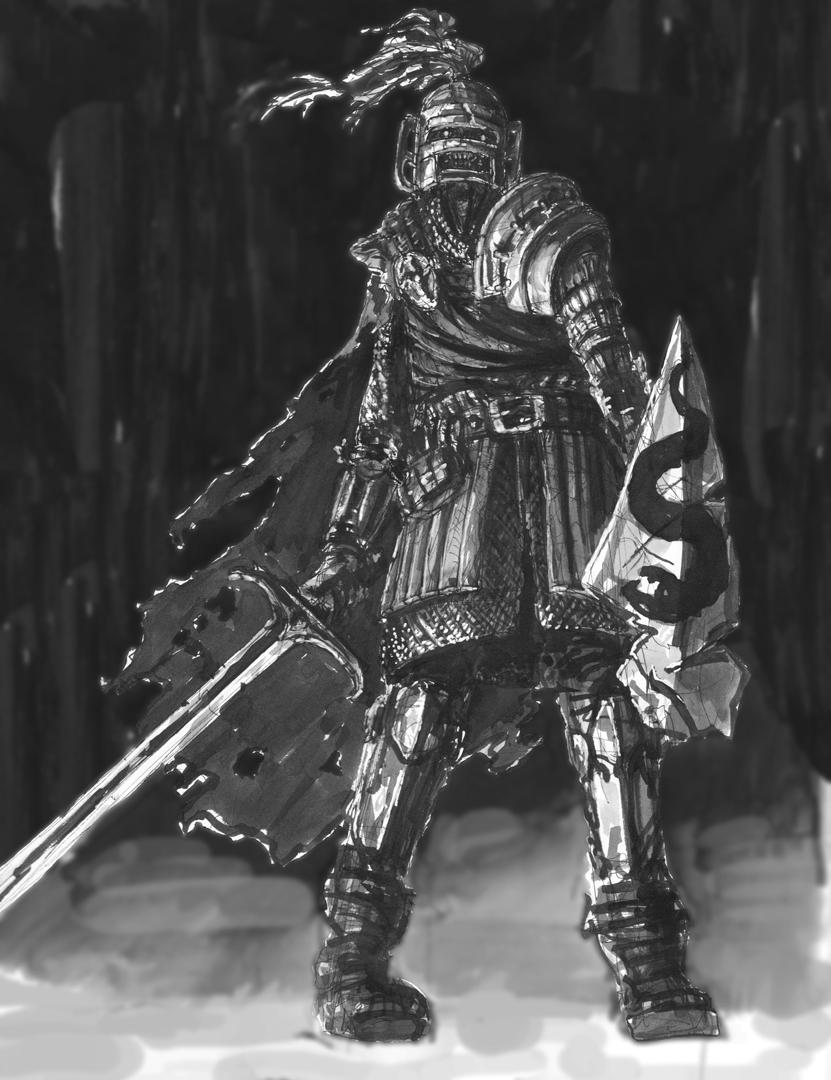
Me being afraid of technology and all, I still start on paper (where I feel most comfortable) offten and this is the method I use for that.
On paper, I did a pen and ink wash drawing of some dead guy. I scanned it in, changed it to gray scale and did a little clean up.
I then switched it back to rgb and used the Hue and Saturation menu to make it warmer and make the highlights more yellow. I then started applying localized color (in picture the armor) with a multiply layer.
I continued adding in color on the multiply layer and created the opaque highlights/shadow/detail layer over that.
Finally, I cut out a portion of the background and replaced it with a gradient layer, added some foreground mist with opacity/Gaussian blur and did some final transform tool stuff to change proportions.
These examples are the closest I have gotten to making sense of photoshop thus far. Masks, Transform, and Selection tools have been a great help and I can't help but wonder what you guys are using that I am unaware of. Let me know if you have any insights.